
MINECRAFTBIBLE
Loading...


Armor stand and display entity editor
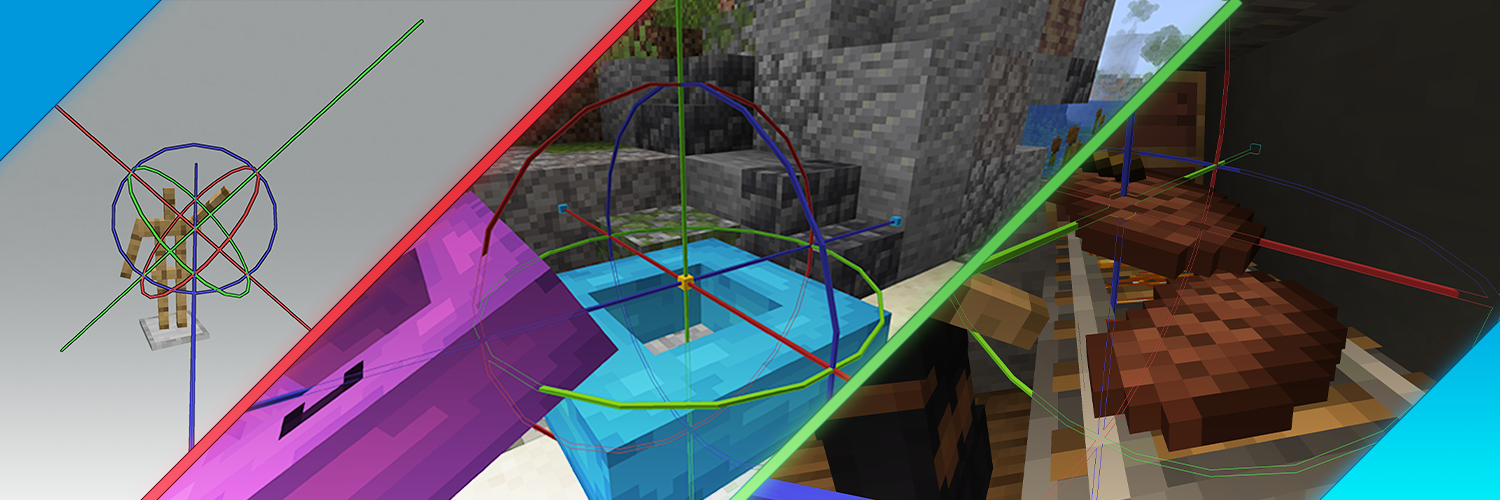
Armor stand and display entity editor.
Download the .jar file and place it in your plugins folder.
Use /eas give and follow the instructions.
If you get stuck, refer to the detailed instructions below.
Hold the tool and right-click an entity to select it.
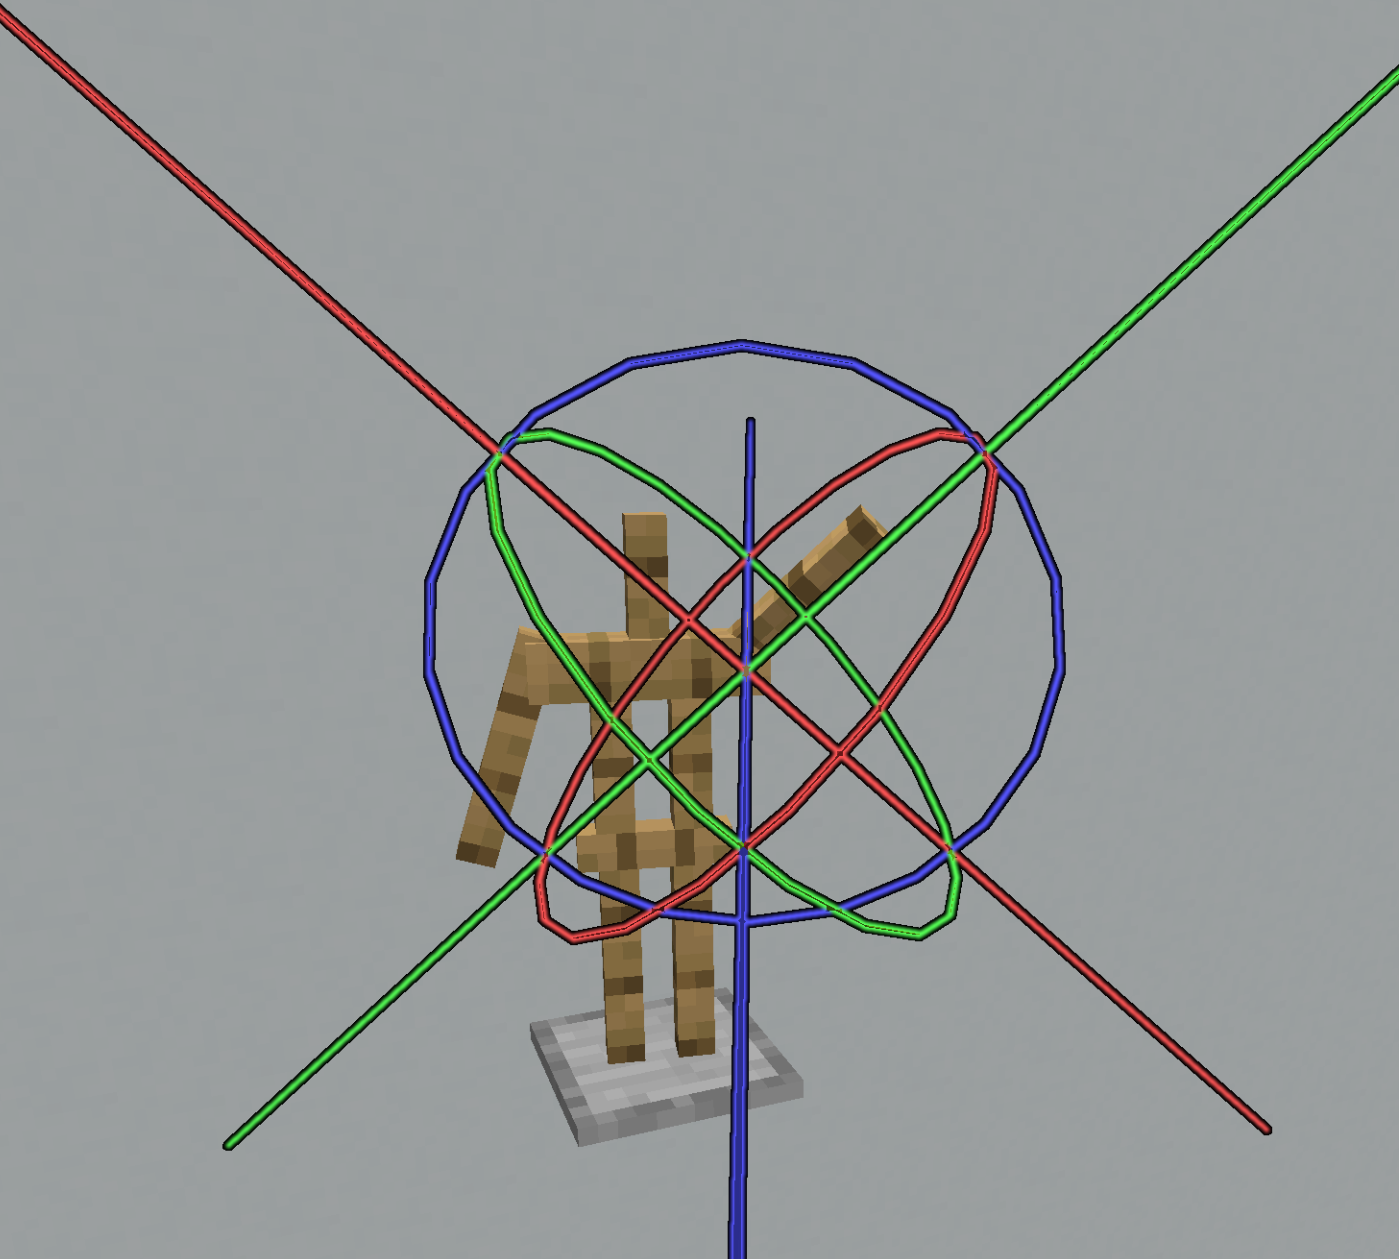
Right-click a line to use the Move tool.
Move your cursor by walking or looking around, then right-click to confirm your changes.
You can abort your changes and restore the previous position by left-clicking instead.
Right-click a circle to use the Rotate tool.
This works just like the Move tool.
Some entities let you switch between local and global mode.
Local mode is affected by the rotation, for example, you can use it to move an armor stand along its arms.
Global mode uses global coordinates.
Use /eas undo and /eas redo to undo/redo your changes.
You can undo any operation performed using EasyArmorStands, as well as manually placing or destroying armor stands.
Armor stands have 7 bones:
After selecting an armor stand, you will also have to select which bone you want to edit.
The Position bone is the yellow point in the middle (below the head), the other bones are the white lines.
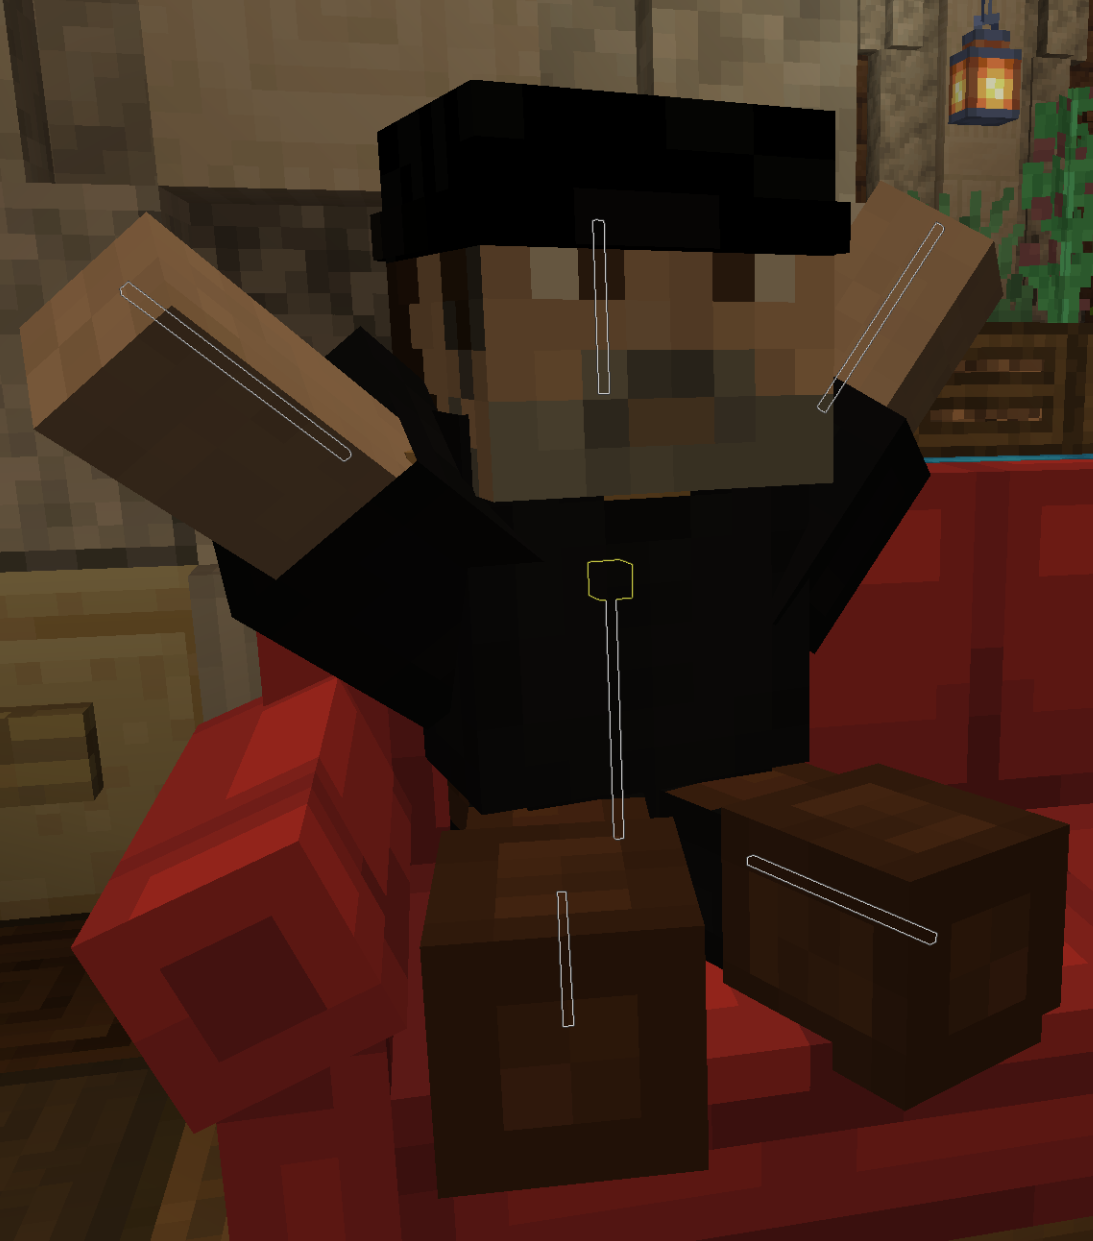
You can pick up and carry the armor stand by selecting the position bone and then selecting the Pick up tool in the
middle (where the lines meet).
Use /eas name to edit the custom name of an armor stand.
This is often used for holograms.
Format the name using MiniMessage.
Hint: If you are on 1.19.4+, you should use text displays for holograms, see below.
Display entities can be moved, rotated and scaled.
Use the menu to place an item into an item display.
Use /eas text to edit the text of a text display.
Format the text using MiniMessage.
This command also has some subcommands such as /eas text background, which can be used to change the background color.
Hint: Set the billboard mode to center in the menu and reset the rotation
(/eas reset) to create a hologram which always looks at the player.
Place a block in a block display by holding Shift and left-clicking it, or use /eas block.
This command also supports block states like minecraft:birch_stairs[facing=east].
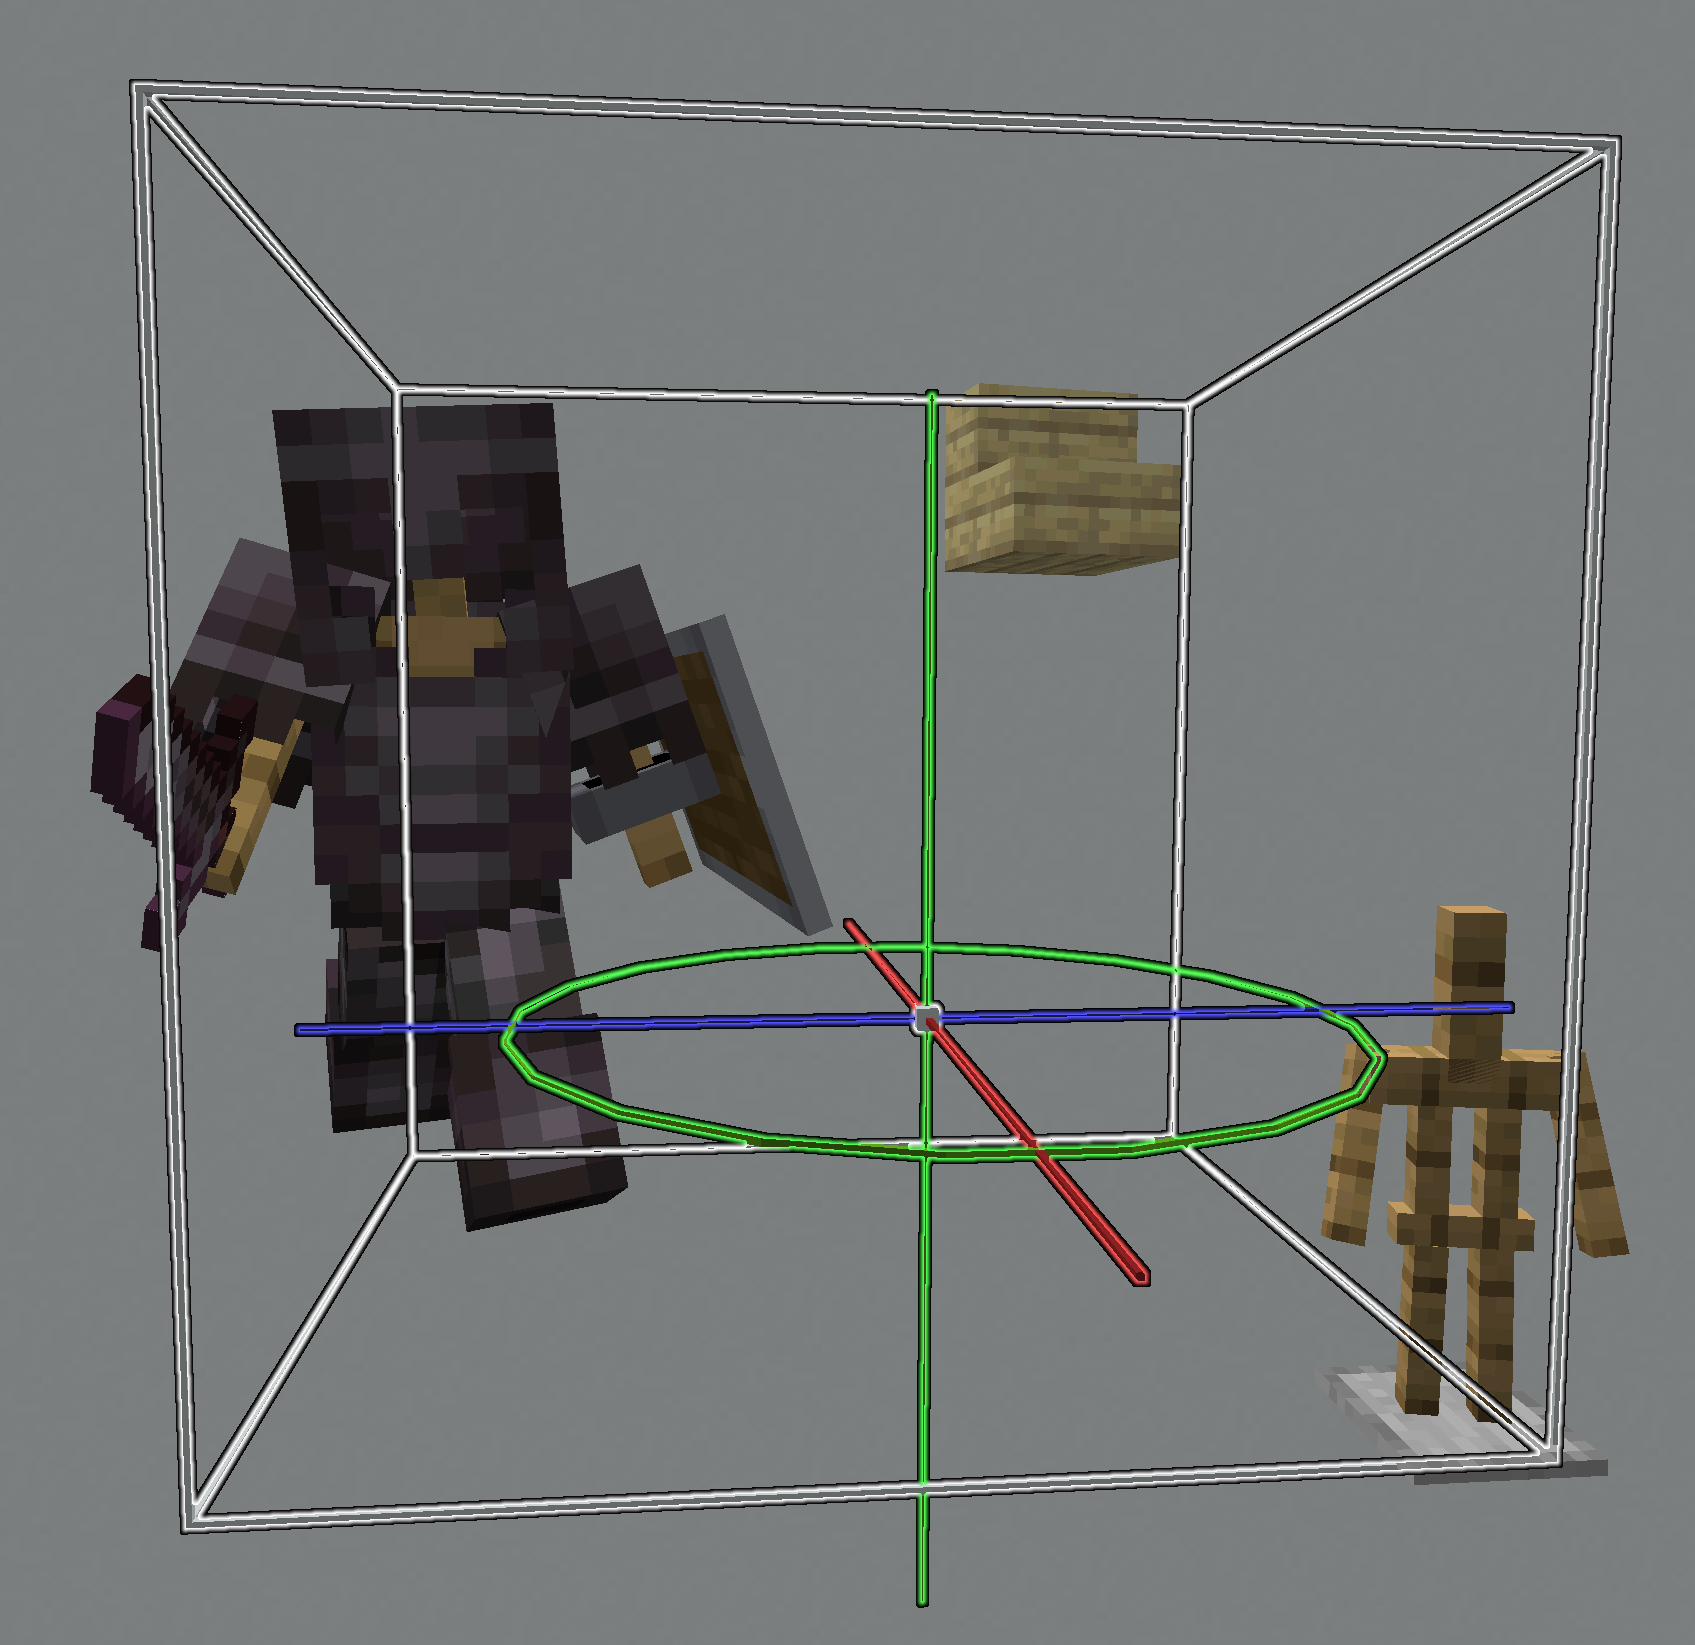
Use /eas box to resize or move the bounding box.
Setting up a bounding box is important for client-side rendering performance.
The client will not render display entities if the bounding box is not visible on the screen.
By default, display entities do not have a bounding box, so they are always rendered.
Use /eas brightness to set a custom brightness (light level) of a display entity.
FancyHolograms holograms can be moved and scaled using EasyArmorStands.
Hold Shift while right-clicking an entity to add it to your group selection.
After selecting the entities you want to edit, right-click anywhere without holding Shift to begin editing the group.
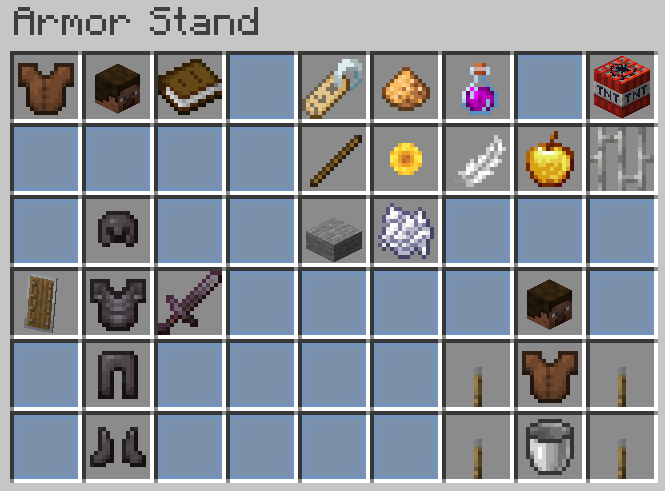
The menu can be accessed by pressing F.
Group selections do not support the menu.
On the bottom left, you can edit the entity equipment slots (armor, held items).
The bottom right contains shortcut buttons to quickly select a certain bone.
Armor stand settings such as visibility can be changed using the buttons in the top right.
If Head Database is installed and you have permission to use
it, you can click the button in the top left to open its menu.
After selecting a head, you are returned to the EasyArmorStands menu and can quickly place it into an equipment slot.
Permission: headdb.open
If TrainCarts is installed, a button to open the TrainCarts
model browser is added to the top left.
Permission: easyarmorstands.traincarts.model
This list contains some important commands for features which cannot be accessed using the menu.
Use /eas help to see the full list of commands and their full usage.
/eas give: Give yourself the editor tool/eas align: Move the selected entity to the middle of its block/eas clone: Duplicate the selected entity/eas snap angle: Toggle angle snapping (or specify an increment)/eas snap move: Toggle position snapping (or specify an increment)/eas reset <property>: Reset a propertyThere are two permission packs which contain permissions which are recommended for survival or creative mode servers.
| Permission | Description |
|---|---|
easyarmorstands.survival |
Allow editing armor stands and their basic properties |
easyarmorstands.creative |
Allow spawning and editing armor stands and display entities |
For example, to allow players to use EasyArmorStands on a creative server, simply give them
the easyarmorstands.creative permission.
The full list of permissions is located in the wiki.
If PlotSquared v6/v7 is installed, players can only edit
entities on plots where they are allowed to build.
Players with the easyarmorstands.plotsquared.bypass permission bypass this restriction.
If WorldGuard is installed, players can only edit entities if they are allowed to
build.
Players with the easyarmorstands.worldguard.bypass permission bypass this restriction.
If GriefDefender is installed, only trusted builders can edit entities in a claim.
Players with the easyarmorstands.griefdefender.bypass permission bypass this restriction.
If GriefPrevention is installed, players can only edit entities if they are allowed to build.
Players with the easyarmorstands.griefprevention.bypass permission bypass this restriction.
If HuskClaims is installed, players can only edit entities if they are allowed to perform the easyarmorstands:edit
operation.
The easyarmorstands:edit operation (flag) should be configured in the
HuskClaims config.
wilderness_rules in config.yml to allow using EasyArmorStands in the wilderness.allowed_owner_operations in trust_levels.yml to allow players ot use EasyArmorStands in their own plots.flags of certain trust_levels in trust_levels.yml to configure which trust levels can usePlayers with the easyarmorstands.huskclaims.bypass permission bypass this restriction.
If Towny is installed, only trusted residents can edit entities in a claim.
Players with the easyarmorstands.towny.bypass permission bypass this restriction.
If Residence is installed, only players with the build flag can edit entities in a claim.
Players with the easyarmorstands.residence.bypass permission bypass this restriction.
If Lands is installed, the role flag easyarmorstands_edit (in the menu: Edit entities)
can be used to restrict editing entities.
Players with the easyarmorstands.lands.bypass permission bypass this restriction.
If BentoBox is installed, the flag ARMOR_STAND is required to edit entities.
Players with the easyarmorstands.bentobox.bypass permission bypass this restriction.
The configuration file is automatically generated in the plugin folder.
The most important options are documented in the wiki.
Use /eas reload to reload the configuration file.

Please submit translations on Weblate.
If you would like to start translating to a new language, please ask on Discord.
plugins/EasyArmorStands/lang/XX_YY.json.XX_YY with the in-game locale code listed in https://minecraft.wiki/w/Language#Languages.Use /eas reload to reload all messages.